Organize labels into categories
Group labels into categories, put the categories in order and archive the labels you no longer use.
Who can do this: Owner, Admin
As the number of labels grows, categories keep them easy to find: one for the type of work, one for clients, one for brands. Labels are grouped by category on the Labels page and when someone picks labels for a task. Organization owners and admins organize the labels.
Create a category
- Choose Labels in the sidebar, then New category.
- Enter the name and choose Create category.
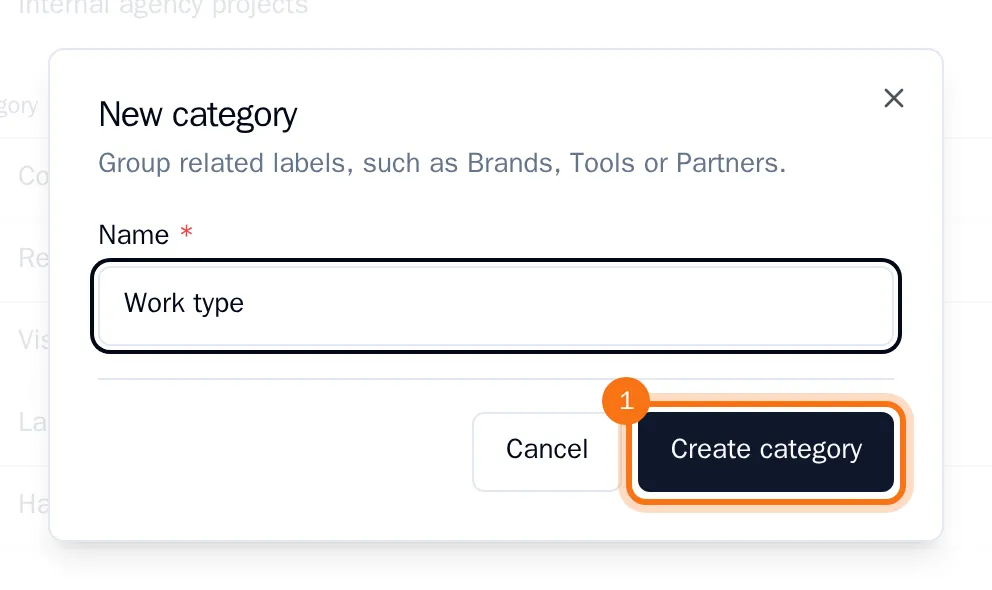
The category appears on the Labels page, still empty.
Put a label in a category
- Choose the pencil next to the label.
- Choose the Category.
- Choose Update Label.
The label moves under its category. Labels without a category are listed under Other. Two labels can have the same name when they are in different categories.
Put the categories in order
Use the arrows next to a category's name to move it up or down.
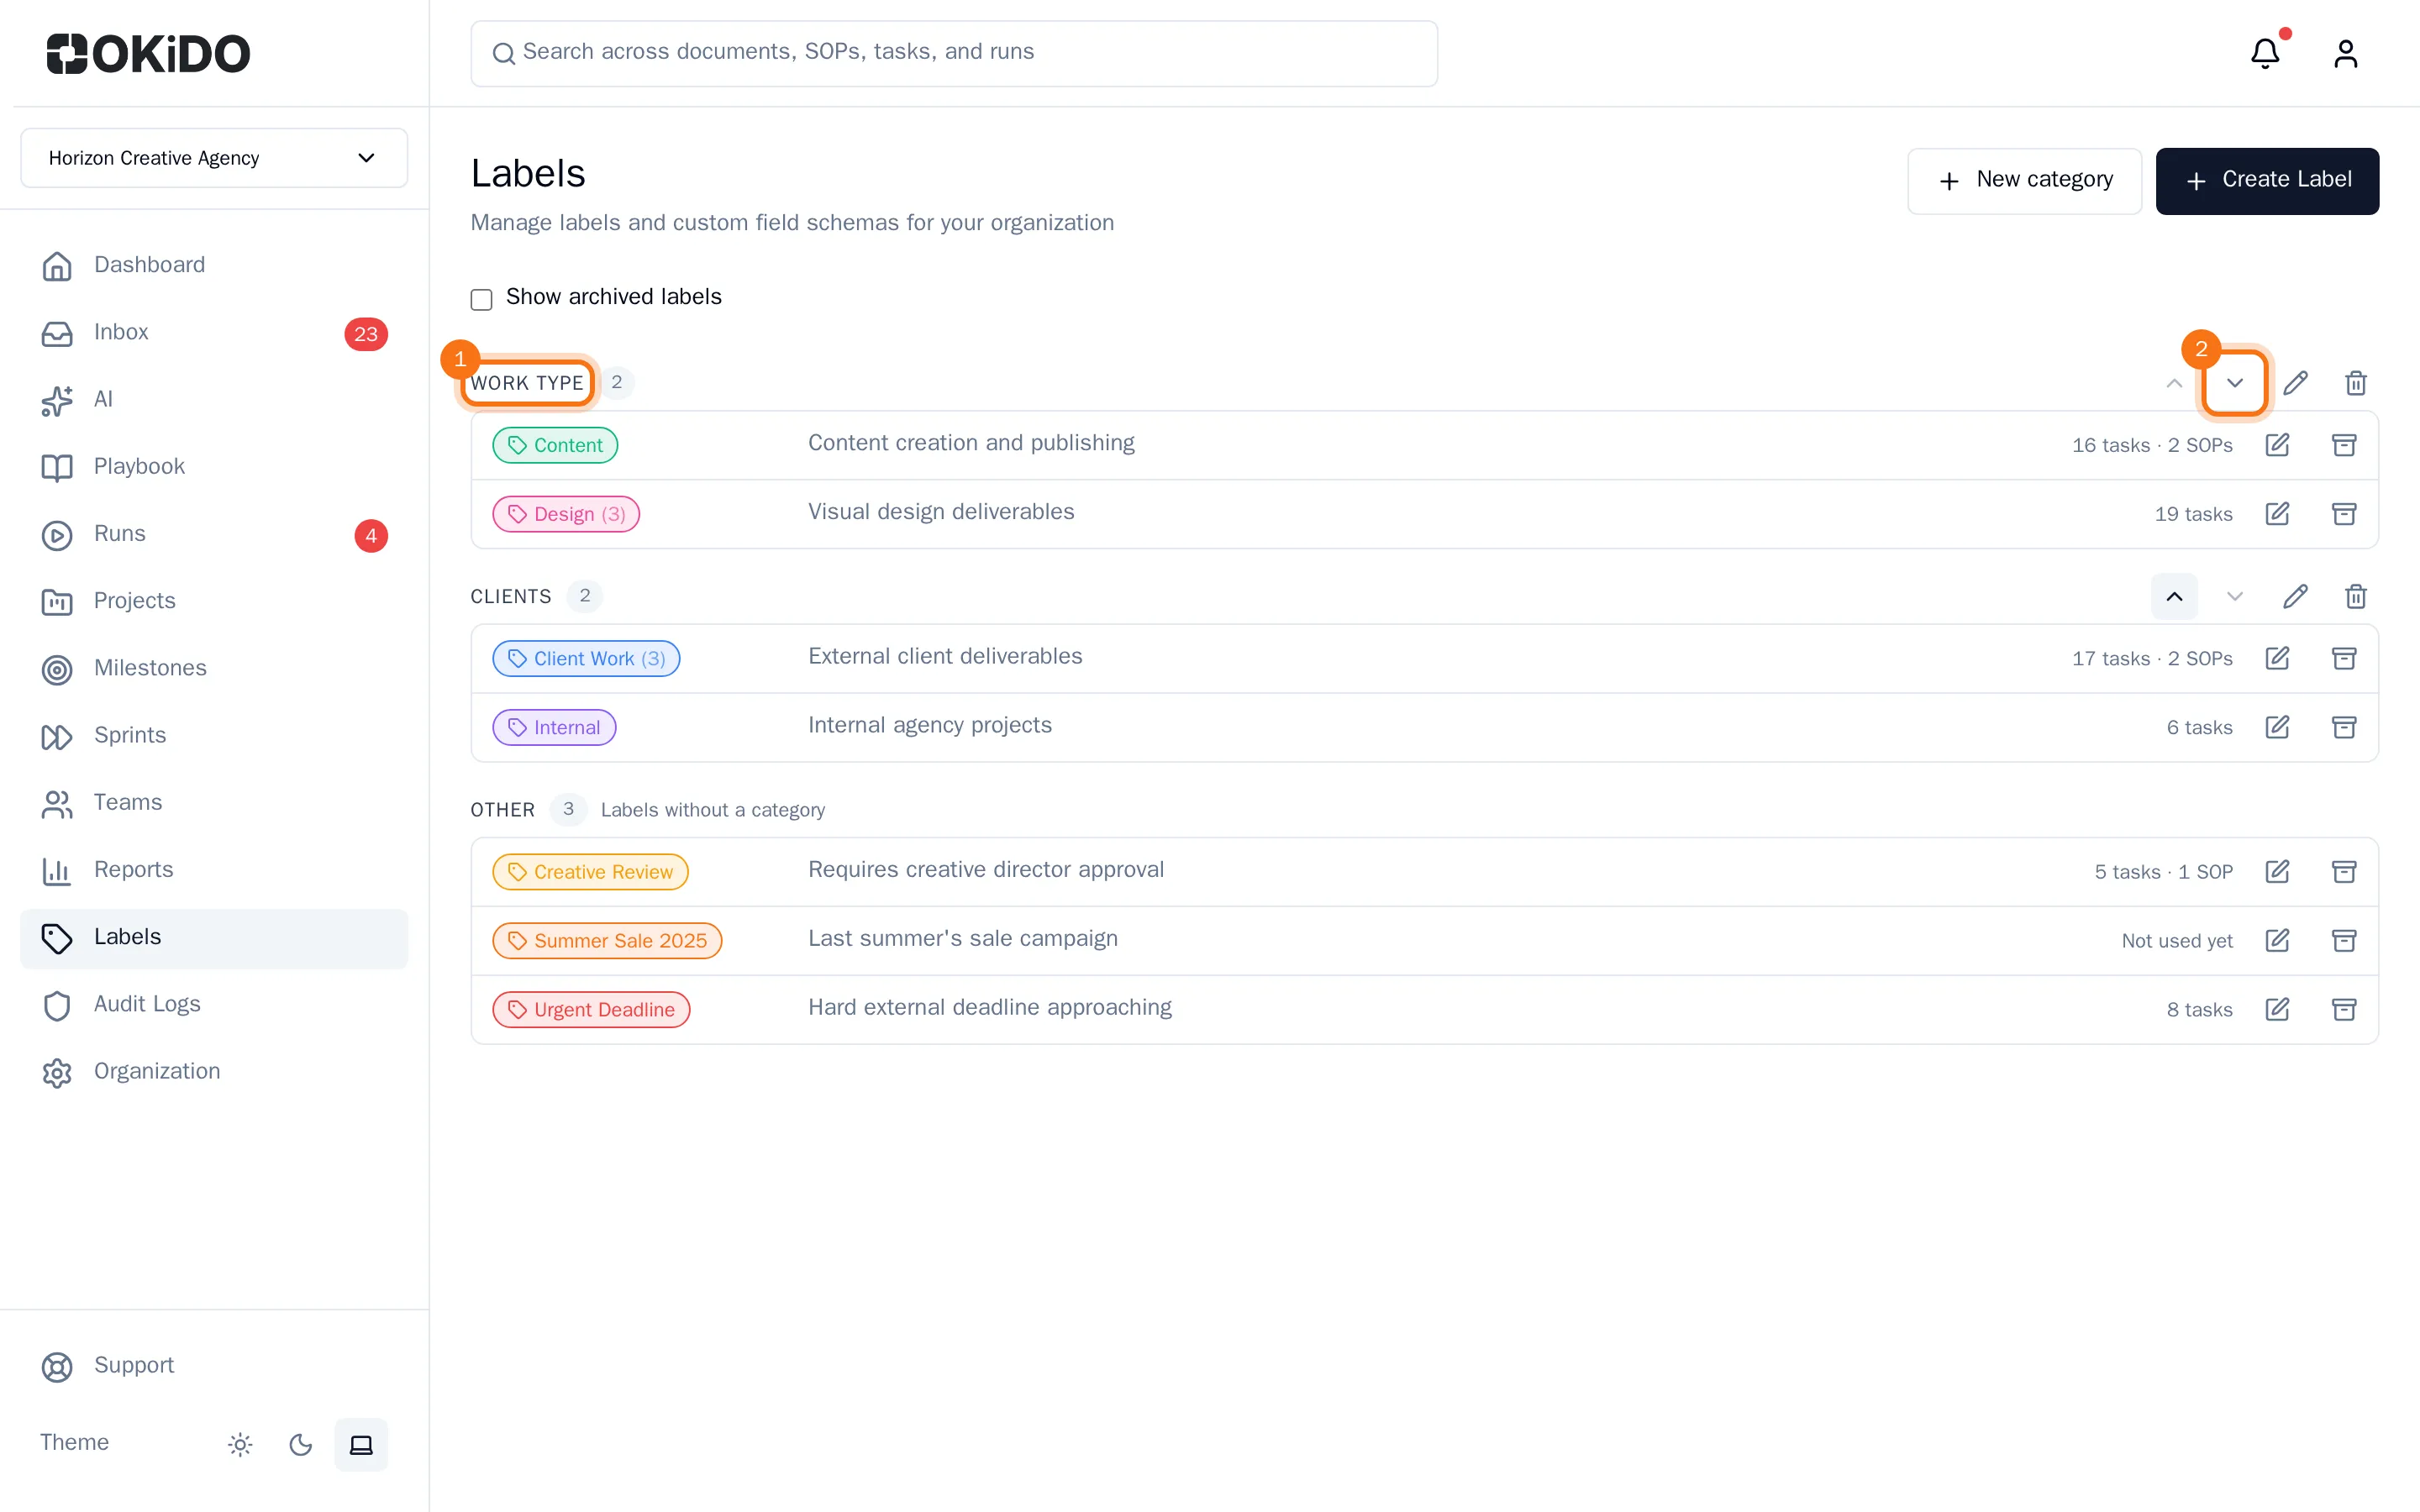
Rename or delete a category
- Choose the pencil next to a category's name to rename it.
- Choose the bin next to a category's name, then Delete, to delete it. Its labels move to Other and stay on their tasks and documents.
Archive a label
Archive a label you no longer use, such as last year's campaign.
- Choose the archive button (the box) next to the label.
- Choose Archive.
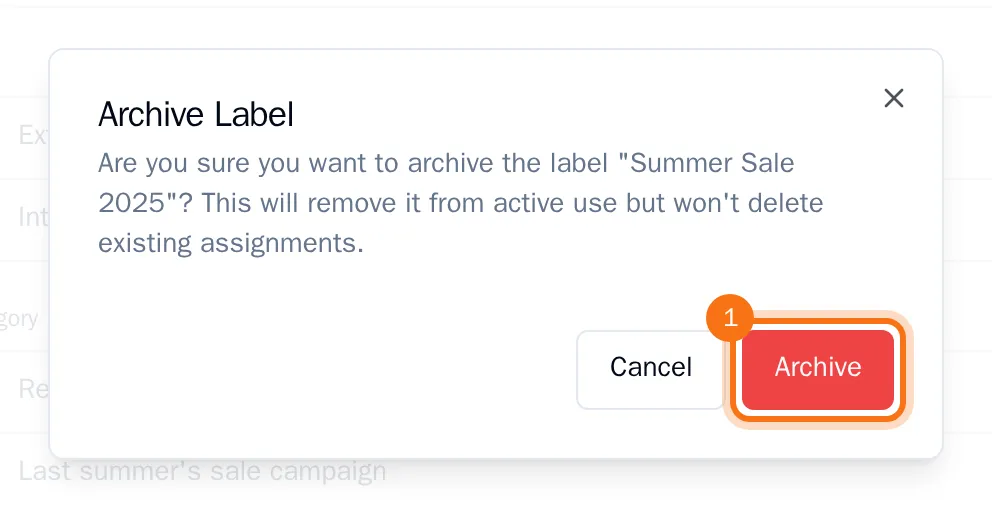
The label leaves the list and is no longer offered for new tasks and documents, but it stays where it is already used. To see archived labels, select Show archived labels.
Tip: An archived label cannot be brought back from the app, and its name stays taken in its category. Archive only labels you are done with.